In the first part of this tutorial I will provide instructions on how to add a map to your Facebook business page. The tutorial covers how to add two different types of maps:
Both types of maps have advantages.
- Built-in Facebook map: Allows users to check-in on Facebook, but it is static and simply points to your location.
- Google Map: A live and interactive map that supports a host of features. You can give directions, switch between satellite and standard view, show Street View, and a lot more.
You can add both Google Maps and the built-in Facebook map if you like. You could, for example, show directions or Street View on a Google Map, and your static location on the built-in map.
Facebook does not offer Google Maps by default, but you can add them without difficulty or advanced technical skills. The process involves adding a custom tab and then embedding a Google Map, but the results are well worth it. Note that Facebook requires that your business page have 2000 likes or more to be allowed to add a custom tab.
Having a map, not matter the type, on you Facebook business page has a number of benefits:
- Location: A map helps customer find your physical business. This is especially important for local businesses
- Authenticity: Advertising your location gives your business authenticity and credibility. Users know you are not a fly-by-night, who exists only in cyberspace.
- Convenience: Not all users have the skill or patience to find your address electronically. Providing a map makes it clear where you are.
Contents
How to add the built-in Facebook map to your business page 2
How to add Google Maps to your Facebook business page 4
Adding a custom tab to your Facebook business page 5
Creating a map on Google Maps 8
Embedding the Google Map in the custom tab 9
How to add the built-in Facebook map to your business page
Adding the built-in Facebook map to your business page should be straight forward, but things can get tricky if the map does not recognize your address.
To add the built-in Facebook map:
- Login to Facebook and open your business page.
- Click
 in the header and then click Edit Page Info. <more-icon.png>
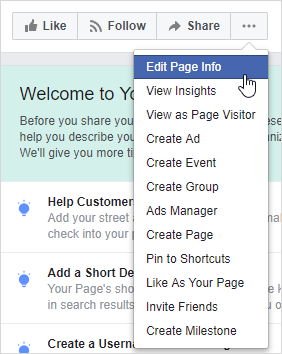
- Click Location:
- Check Has a street address.
- Enter your address. The most important box is the second one for City/Town. For the map to recognize your address, this box must turn blue. If it does not, you can try alternative spellings or even a nearby city or town. You can zoom in and out and reposition the pin to show a more accurate location, if necessary.
- Check Customers visit my business to ensure that your address is visible and that users can check-in.
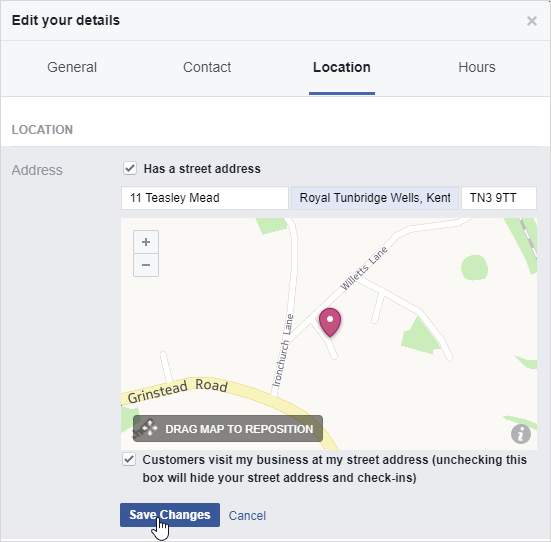
- Click Save Changes.
- Close the Edit your details dialog if necessary and return to your business page.
- Click the About tab to verify that you address displays correctly.
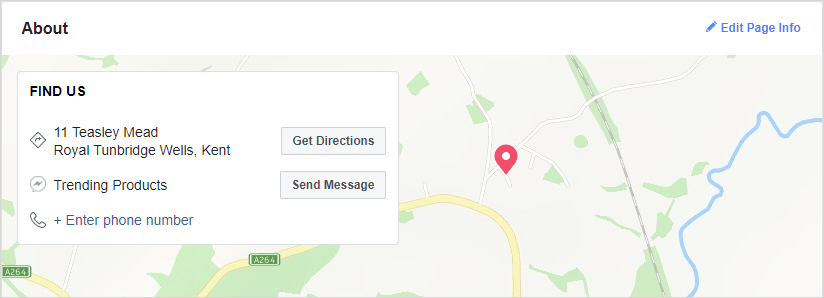
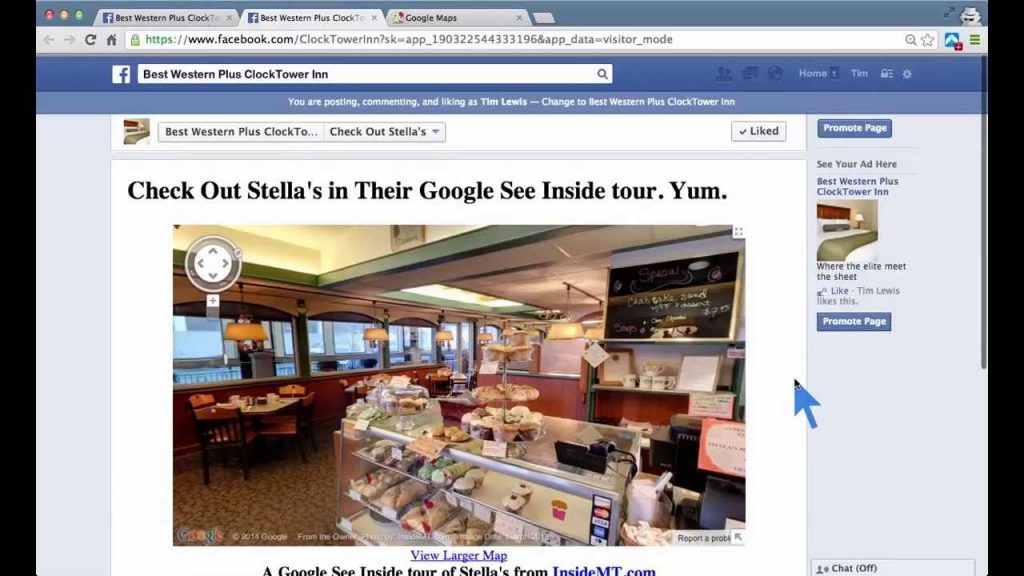
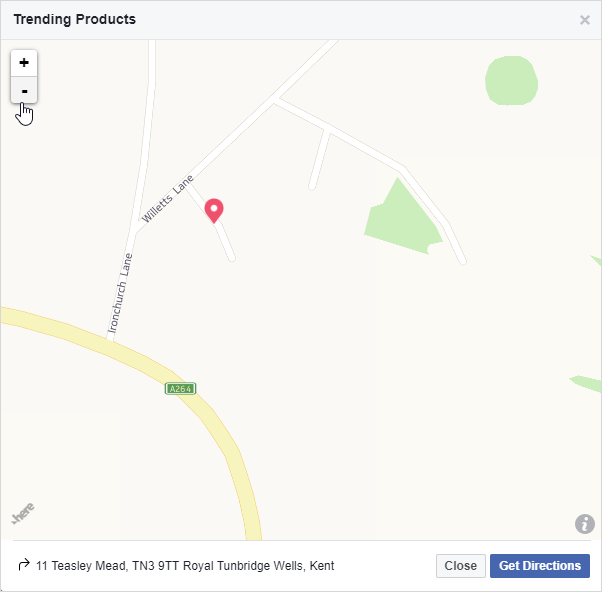
- Users can click the map in the About section to open an overlay zoomable map.
How to add Google Maps to your Facebook business page
Adding a Google Map to your Facebook business page involves three steps:
- Adding a custom tab to your page.
- Creating a map on Google Maps.
- Embedding the map in the custom tab.
Google Maps offers a very rich environment and far more features than the simple static map offered by Facebook. The browser embedded in the custom tab has almost as much functionality as the map on Google Maps.
To keep things simple, we use a free Facebook app to add the new custom page tab. No coding or advanced technical expertise are required.
Note that Facebook only allows you to add a custom tab if your business page has 2000 fans or more.
Adding a custom tab to your Facebook business page
To add a custom page tab:
- Open Facebook.
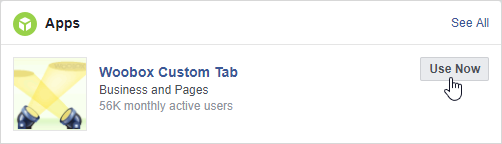
- Type Woobox Custom Tab in the search box.

- In Apps, select the Woobox Custom Tab app and click Use Now.
<woobox-app-use-now.png>
- On the Woobox Custom Tab page click Install Page Tab.
<install-page-tab.png>

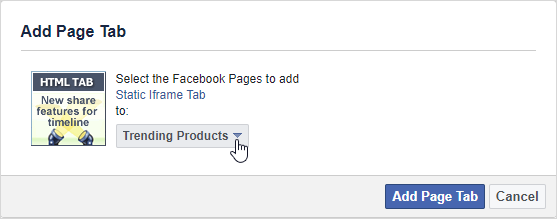
- Select your Facebook business page in the drop-down and click Add Page Tab.
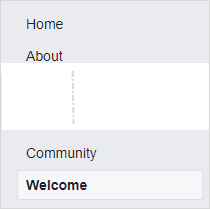
- The new tab, named Welcome, will open on your business page.
<welcome-tab.png>
- In Tab Settings click Configure Page Tab.

- To authorize the app, click Continue as <your name> on the first screen and then Ok on the second screen.

- The Woobox configuration page opens where you can add custom content, configure tab settings and more.
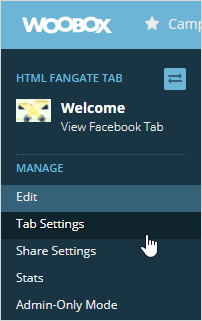
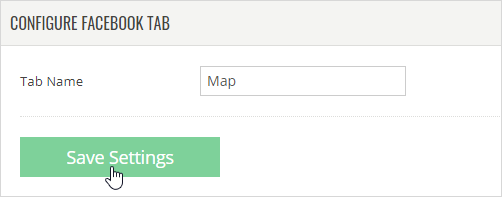
- We will come back to these settings in Embedding the Google Map below. For now, we simply change the tab name to Map. To do this, click Tab Setting in menu, enter a name in Tab Name and click Save Settings.
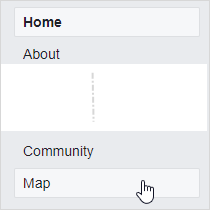
- Click View Facebook Tab to open your business page and verify that the tab name has changed.
Creating a map on Google Maps
The next step is to create your map on Google Maps.
To create a Google Map:
- Open Google Maps at www.maps.google.co.uk (or your country’s equivalent).
- Make sure the map, Street View image, or directions you’d like to embed show up on the map.
- In the top left corner click the menu icon
 . <google-maps-menu-icon.png>
 - Click Share or embed map.
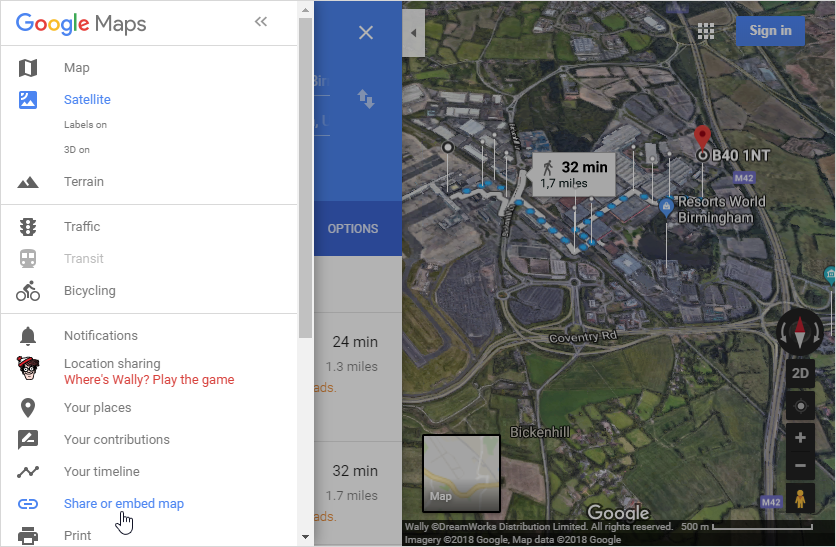
- In the Embed a map tab, select Large and then click COPY HTML. The large size fills the page area in the Facebook tab on a desktop.
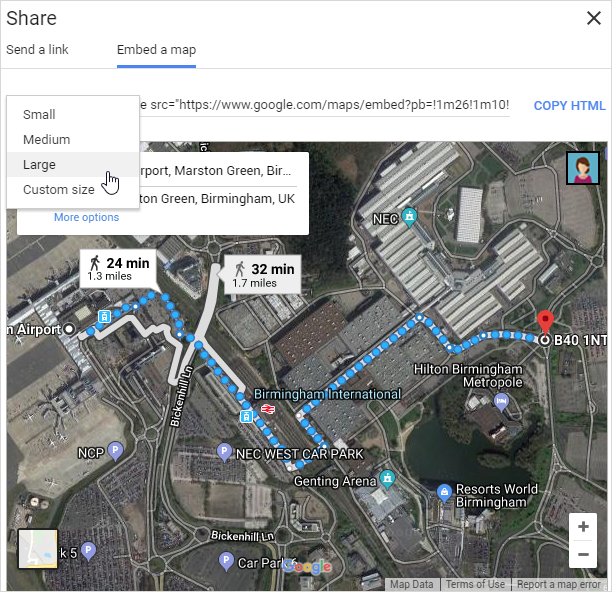
- Paste the code into Notepad or a similar program for now. We will use it to display the map in the new Facebook tab.
Embedding the Google Map in the custom tab
The final step is to embed the Google Map in the new custom tab on your Facebook business page.
To embed the Google Map:
- Open your Facebook page and click the new tab in the left menu.

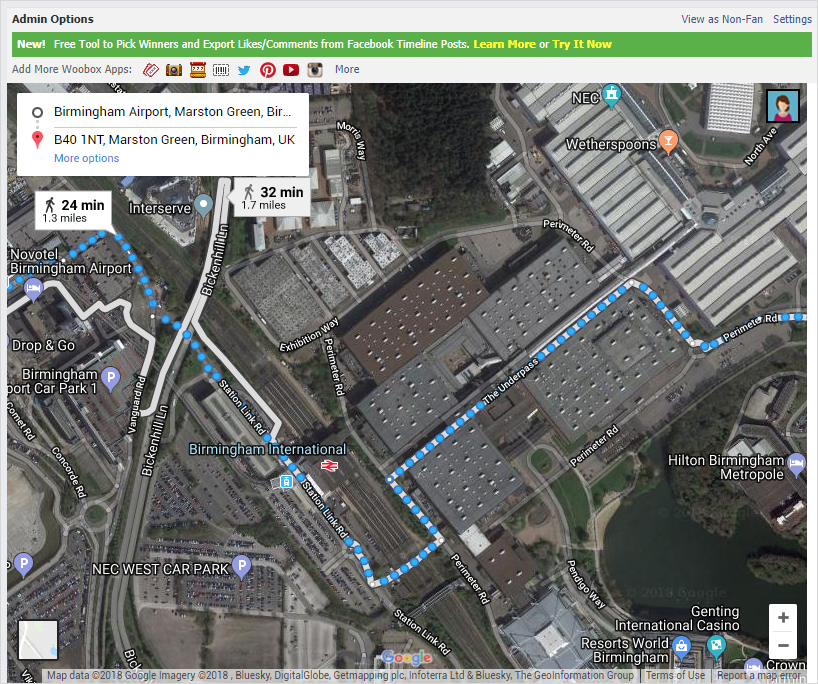
- In Admin Options click Settings.
<admin-options-settings.png>

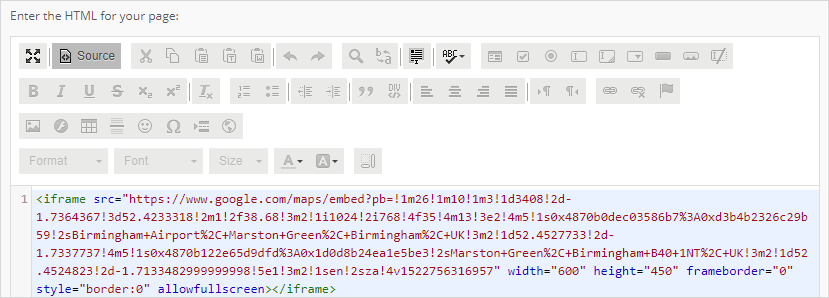
- Use Ctrl+V to paste the code you copied in Google Maps into the Page Source box. Make sure that the Source icon is highlighted and all the other buttons in the editor are greyed out.
- Click Save Settings.
<save-settings.png>

- Click View Facebook Tab in the menu.
- View the interactive Google Map in the new Facebook tab.
Enjoy your maps
We hope you have enjoyed this tutorial on adding maps to Facebook. Now that your users can find you, sit back and your business boom.
Dear. Please Can you make correction map, I would like to state and be able to change certain cities in your database to the correct country.
I am located in Hargeisa City; which is the capital city of Republic Of Somaliland, not Somalia.
You are so useful …
Thanks for sharing this info…It helped a lot!!!
Thank you so much for the info.
Under my location it doesn’t give me an option of has street address
I am glad to be a visitor of this everlasting site, thank you for this rare information!
you did good keep it up
The location section in my business page doesnt ask for the street name. It asks if my company is in another building, that’s it. Why is mine different?
Could you help please – when I go to edit location and type the address, the map does not appear. Why is this and how can I get the map to appear?
I having the same issue . Did you solve it ?
Hi, I have follow the step to build in Facebook map . But it still not working . In my about it only show the address without the map. And now I couldn’t check in Page. Please help me
there is no woobox custom tab in apps in facebook
My map is wrong because I moved my store. I have followed your instructions but am unable to resolve this issue. I am not even able to make a map appear. Please help me 🙂
Hi it says my page doesnt have permission to install a custom tab? Any fix, Im in Japan.
Re: adding google map to facebook: It says my page doesn’t have permission to install a custom tab.
Facebook business page does not find ‘Woobox Custom Tab” under Apps.
Failed at first hurdle!
eye want 2 show all my grp check-ins on the map . . . wondering if eye can ¿Help? https://www.facebook.com/groups/719117185517580/permalink/934165324012764/
Embedding a map didn’t work on my page. It came up with an error after clicking instal to Page. ;(