
In this tutorial I’ll teach you about adding Google Maps to PowerPoint. Adding a Google Map to PowerPoint gives your presentation a polished, professional finish. More importantly, because the map is live and interactive, you can take your audience on a journey without ever leaving PowerPoint. Whether you are adding the final touches to a company presentation or demonstrating the route of a cycle race, an interactive Google Map allows you to point out the precise area or region you need.
PowerPoint doesn’t offer the ability to embed web pages. To add a Google Map to PowerPoint, you need to use an add-in that provides embed functionality. We use the LiveSlides add-In for PowerPoint.
Google Maps offers a very rich environment – far, far more than a simple static map. The end result of this tutorial is a functional Google Map embedded in a PowerPoint slide. The embedded browser gives you the same functionality as you have on the Google Maps site. No coding or advanced technical expertise are required.
Contents
How to add Google Maps to PowerPoint 1
Installing LiveSlides PowerPoint add-in 1
Creating a map on Google Maps 2
Embedding the Google Map in PowerPoint 3
Enjoy Google Maps in your presentations 5
How to add Google Maps to PowerPoint
Adding Google Maps to PowerPoint involves three steps:
- Install the LiveSlides add-in for PowerPoint.
- Create a map on Google Maps.
- Embed the map in PowerPoint.
Installing LiveSlides PowerPoint add-in
PowerPoint does not support live web pages. You need to install an add-in to add this functionality. We use the LiveSlides PowerPoint add-in that is free and simple to use. It allows you to embed any web page in a PowerPoint slide.
To install the LiveSlides add-in:
- Close PowerPoint, if it is open.
- Go the LiveSlides and download the add-in.

- Double-click the downloaded file (liveslides.exe) to launch the installer.
- Click Install.
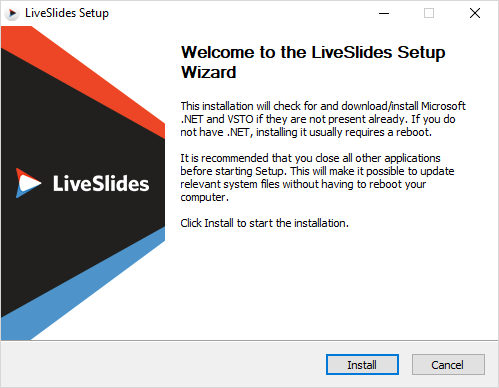
- Click Finish when the wizard is done.
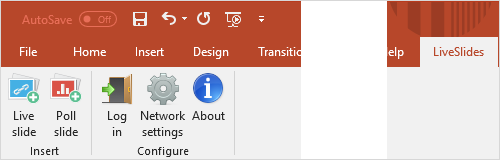
- Open PowerPoint and note the new LiveSlides tab on the ribbon.

Creating a map on Google Maps
The next step is to create a map on Google Maps.
- Open Google Maps at www.maps.google.co.uk (or your country equivalent).
- Find the location you want.
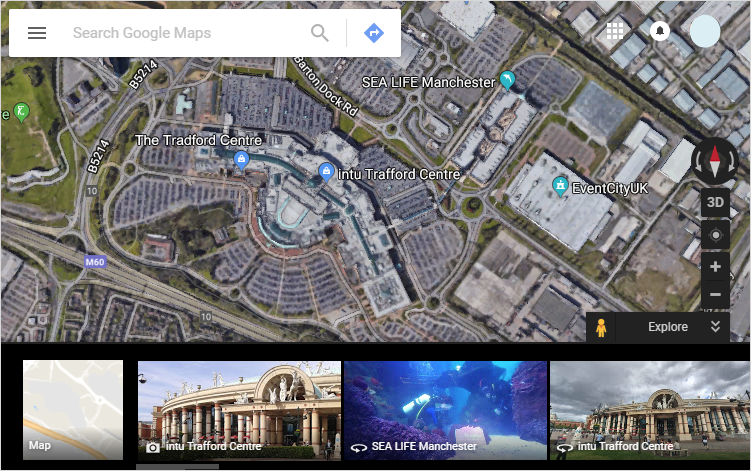
- Copy the URL of the Google Map.

- Paste the URL to Notepad or similar application for now. We will use it in the next section.
Embedding the Google Map in PowerPoint
The final step is to embed the Google Map in PowerPoint.
- Open PowerPoint.
- Go to the LiveSlides tab and click Live slide.
- Use Ctrl+V to paste the URL you copied from Google Maps into the dialog.

- Click Insert.
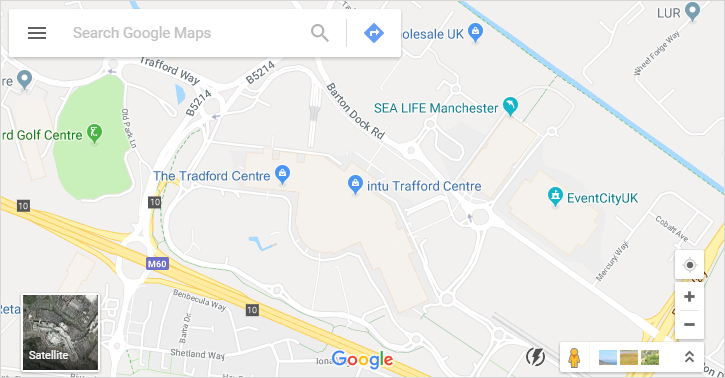
- In normal view the slide will look like this.

- Switch to reading view
 <reading-view-icon.png> to view the live Google Map.
| You may have to switch from Lite mode to full Google Maps for all features to be available. Click the lightning icon |
- You can now enjoy the full functionality of Google Maps directly in your presentation.
- Search.
- Zoom and pan.
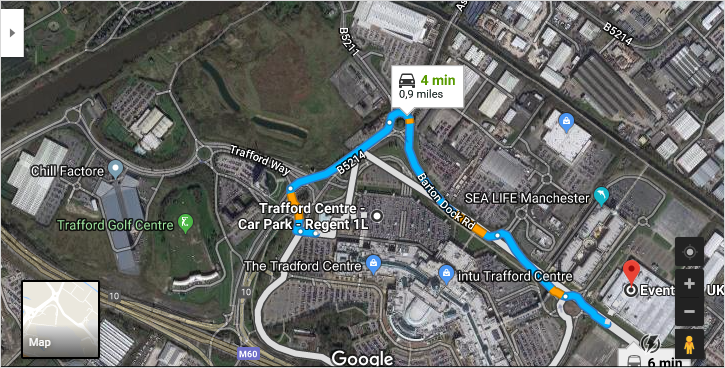
- Switch to satellite view.
- Get directions.
- Use Street view.

- Much more.
Enjoy Google Maps in your presentations
We hope you have enjoyed this tutorial on adding Google Maps to PowerPoint. May your next presentation delight your audience with a fully functional Google Map.
Is there any way to set the LiveSlides default to the “read mode” so it goes straight to the map I don’t have to district my audience by having to click on the read mode button?
one to many full stops on this website, thankyou and good bye
when I click liveslides, I cannot download the app.
are you sure about your instruction?